
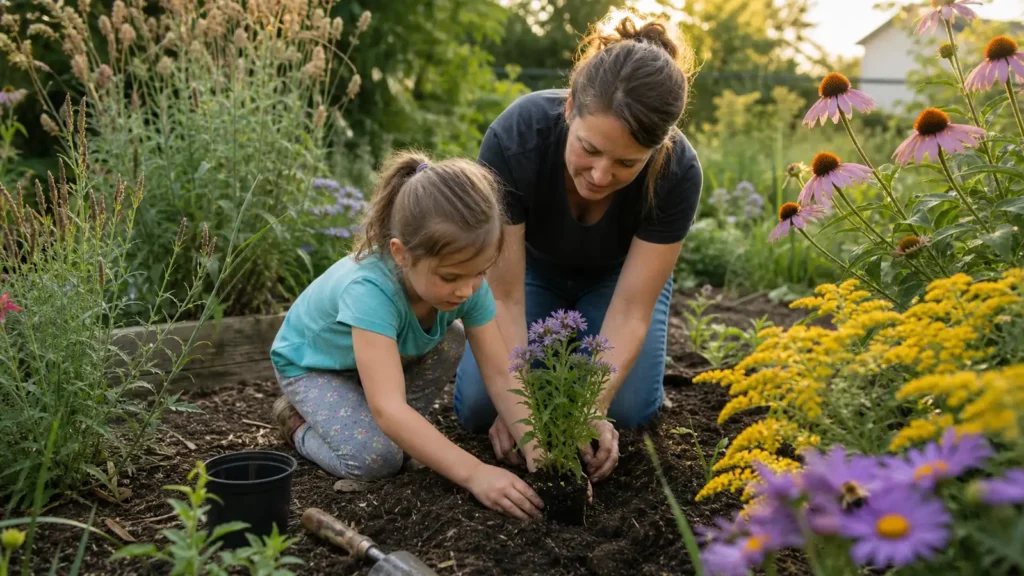
Saving bees becomes much easier when concern turns into a few repeatable habits. This 30-day challenge gives you 15 practical actions—one every two days—to improve food, shelter, and safety for pollinators at home, at school, or in your community.
You do not need a large property or beekeeping equipment to make a difference. Many native bees live in small spaces, and even a patio container, an undisturbed patch of soil, or a conversation with a neighbor can help. For the complete science-based overview, begin with our pillar guide, How to Save the Bees: 15 Ways You Can Help Bees and Pollinators.
How the 30-Day Save the Bees Challenge Works
Choose one action every two days. Some take five minutes; others may become a weekend project. Adapt each step to your climate, living situation, and local rules. Keep a simple checklist or take one photograph after every action. At the end of the month, you will have created real habitat improvements and a plan you can continue throughout the year.
Days 1–2: Learn Which Bees Live Near You
Spend ten quiet minutes watching flowers in your yard, neighborhood, or a public garden. Notice body size, color, flight pattern, and which flowers receive visitors. Honey bees are only part of the story: the United States is also home to thousands of native bee species. Our guide to honey bees and native bees will help you understand why different bees need different kinds of support.
Days 3–4: Stop Routine Pesticide Use
Look through your garage, shed, or garden supplies. Pause unnecessary insecticide and herbicide treatments, especially when plants are flowering. Start with prevention, hand removal, barriers, and targeted controls. If treatment is truly necessary, follow the label, avoid open blooms, and never spray when bees are actively foraging.
Days 5–6: Plant One Regionally Native Flower
Add one native flowering plant suited to your sun, soil, moisture, and region. Native plants often provide familiar pollen and nectar while supporting other wildlife. Ask a reputable local nursery or extension office for a true regional native rather than relying only on a broad “pollinator friendly” label. Explore our pollinator plant guidance before choosing.
Days 7–8: Plan Flowers for More Than One Season
Make a quick bloom calendar for spring, summer, and fall. Bees need dependable food across the growing season, not one short burst of color. Mark the weeks when your space has few flowers, then choose a locally appropriate plant to fill one gap. Groups of the same flower are easier for pollinators to find than isolated plants scattered across a yard.
Days 9–10: Create a Safe Water Station
Place a shallow dish of clean water in a protected location. Add pebbles or a rough landing surface so insects can drink without falling into deep water. Refresh it regularly to prevent mosquitoes and algae. A small water source is most useful when it stays clean and is located near flowering habitat.
Days 11–12: Leave a Small Patch of Bare Soil
Many native bees nest underground. Choose a quiet, well-drained area and leave a small patch free of landscape fabric, plastic, thick mulch, and regular digging. It does not need to look neglected. A defined edge and a small sign can show that the space is intentional habitat.
Days 13–14: Keep Hollow Stems and Natural Nesting Material
Delay cutting every dry stem to the ground. Some cavity-nesting bees use standing or cut hollow stems. Leave selected stems through winter and into warm spring weather, or bundle clean, suitable stems in a dry, sheltered location. If you use a manufactured bee house, keep it modest, weather-protected, and properly maintained. Learn more through our Mason Bee Program.
Days 15–16: Reduce One Section of Lawn
Convert one manageable strip, corner, or container area into flowering habitat. Start small enough to maintain well. A thoughtfully planted patch can provide more food and shelter than the same area of frequently mowed turf. If you rent or live in an apartment, use a patio pot or ask whether a shared space can host a small pollinator bed.
Days 17–18: Leave Some Leaves
Move a portion of fallen leaves beneath shrubs or into a designated garden bed rather than shredding or removing everything. Leaf litter shelters many beneficial insects through winter. Keep leaves away from storm drains and areas where they could create safety or moisture problems, but allow nature to remain in suitable corners.
Days 19–20: Improve a School, Library, or Community Space
Ask one local organization whether it has room for native flowers, a pollinator lesson, or a small habitat sign. Offer a realistic contribution rather than a large project that no one can maintain. Save The Bees USA’s bee education work and Observation Hive Program can help communities connect conservation with hands-on learning.
Days 21–22: Buy Plants With Better Questions
Ask a nursery three questions: Is this plant native to my region? When does it bloom? How was it treated for pests? Your questions show businesses that customers care about pollinator-safe practices. Avoid assuming that every colorful plant is equally useful to bees, and choose plants appropriate for your actual site.
Days 23–24: Support Responsible Beekeeping
Learn how managed honey bee colonies are cared for in your area. Buy local honey from a beekeeper who can explain their practices, attend an educational event, or share a reliable resource. Responsible colony management and wild bee habitat protection are complementary goals. Read more about how to support responsible beekeepers.
Days 25–26: Talk With One Neighbor
Tell one person what you changed and why. Keep the conversation practical and welcoming: share a plant, offer a simple tip, or invite them to observe bees on a flower. Conservation spreads when people see that bee-friendly choices can be attractive, affordable, and manageable.
Days 27–28: Document What Is Working
Photograph the plants, nesting areas, or visiting pollinators you have observed. Record bloom dates and which flowers receive the most activity. These notes will help you improve next season and avoid buying plants that do not perform well in your conditions.
Days 29–30: Make Your Next 90-Day Plan
Choose three actions to continue: one habitat improvement, one learning goal, and one community action. You might expand your bloom calendar, apply for Pollinator Gardener Certification, volunteer, or support a conservation program. A short plan is more valuable than a long list that never leaves the page.
What You Can Accomplish in 30 Days
At the end of this challenge, you may have only a few new plants, a cleaner water station, and a small patch of protected habitat. Those changes matter. More importantly, you will understand your local pollinators better and have a repeatable way to keep improving the places where they live.
Save The Bees USA connects practical habitat work with education, responsible beekeeping, and community conservation. Revisit the complete 15 Ways to Save the Bees authority guide, explore our pollinator programs, or support meaningful pollinator work.
Choose plants and habitat practices appropriate for your region and property. Follow pesticide labels and local regulations, and consult your cooperative extension service when you need location-specific guidance.